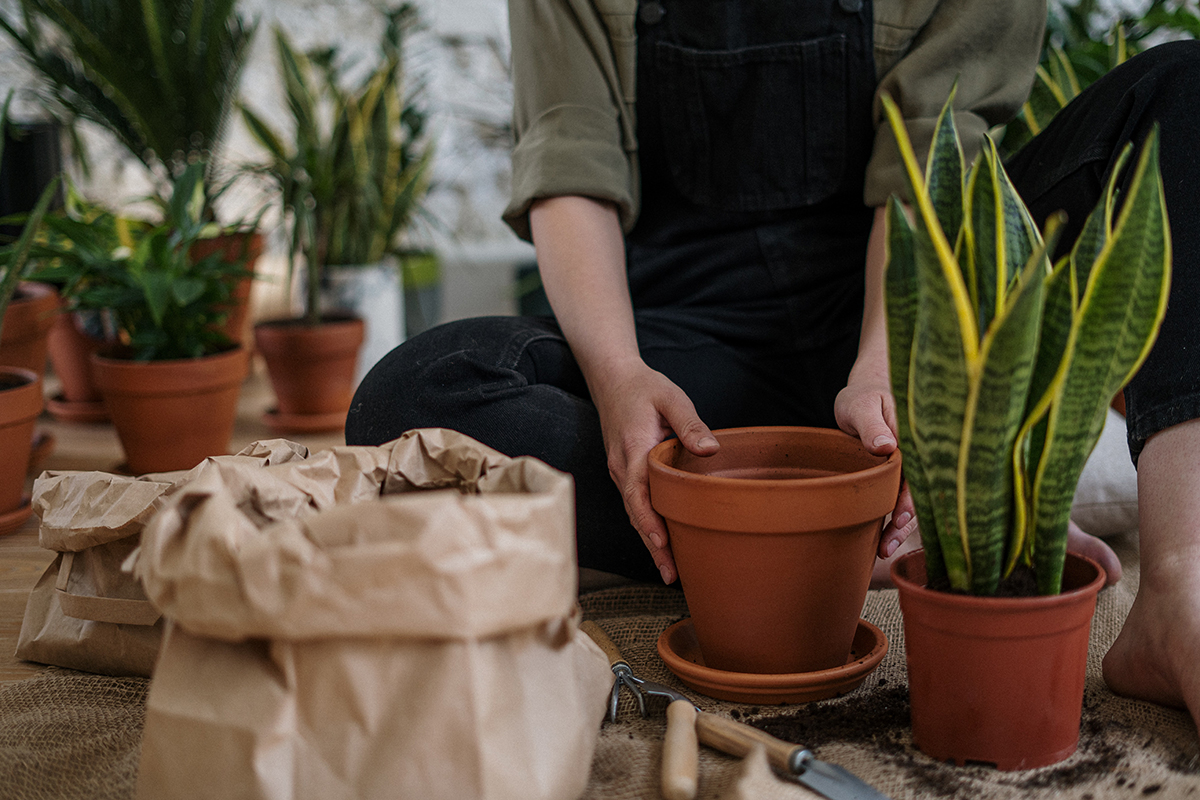
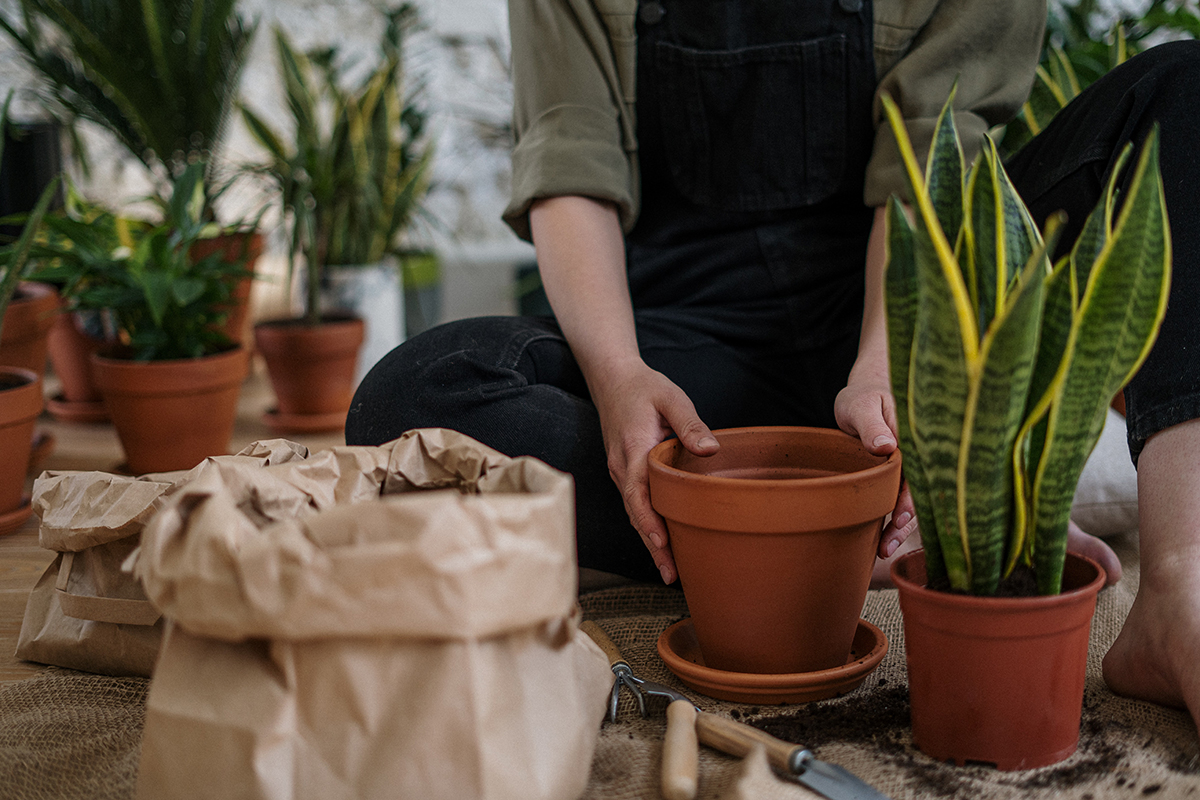
How to Repot Hanging Plants Without Making a Mess – Imagine this: you’re lovingly tending to your hanging plants, admiring their lush foliage, when you realize they’ve outgrown their pots. Repotting is essential for their growth, but the thought of soil scattering everywhere can be daunting.
Fear not! This guide will walk you through the process of repotting hanging plants with precision and ease, ensuring a clean and successful outcome.
From choosing the right pot and potting mix to securing the plant and providing post-repotting care, we’ll cover every step to minimize mess and maximize plant happiness. Get ready to transform your hanging plants with confidence, all while keeping your home tidy.
Preparing for the Repotting

Before you begin repotting your hanging plants, it’s crucial to have everything ready. This includes selecting the right pot size, choosing the appropriate potting mix, and preparing the new pot for repotting.
Choosing the Right Pot Size
The size of the pot you choose for your hanging plant plays a vital role in its health and growth. A pot that is too small can restrict root development and lead to overcrowding, while a pot that is too large can result in excess water retention, leading to root rot.
Repotting hanging plants can be tricky, but with the right technique, you can avoid a messy situation. Choose a pot that’s just slightly larger than the current one, and be sure to select a pot with drainage holes. When you’re looking for a new hanging plant, consider those that also purify the air, such as the Spider Plant , which can help remove toxins from the air.
Once you’ve chosen your plant and pot, simply gently remove the plant from its current container and place it in the new pot, adding fresh potting mix around the roots. With a little care and attention, you can repot your hanging plants without creating a mess.
For hanging plants, it’s generally recommended to choose a pot that is only slightly larger than the plant’s current pot.
When choosing a pot size, consider the plant’s current size and its growth rate. If you have a fast-growing plant, you may need to repot it more frequently.
Selecting the Right Potting Mix
The potting mix you choose is essential for providing your hanging plant with the necessary nutrients and drainage. Hanging plants require a well-draining potting mix that won’t become waterlogged. Here are some tips for selecting the right potting mix for your hanging plants:
- Look for a potting mix that is specifically designed for hanging plants.
- Choose a mix that contains peat moss, vermiculite, and perlite for good drainage and aeration.
- Avoid using heavy clay-based potting mixes, as they can retain too much water.
Preparing the New Pot
Before repotting your plant, prepare the new pot by ensuring it has adequate drainage holes. If the pot doesn’t have drainage holes, you can create them using a drill or a sharp object. Next, add a layer of drainage material to the bottom of the pot.
Repotting hanging plants can be tricky, but it doesn’t have to be a messy ordeal. The key is to choose the right time and method, and to be prepared for some soil spillage. However, the effort is well worth it, as hanging plants offer a plethora of benefits for your indoor environment.
The Benefits of Growing Hanging Plants Indoors include improved air quality, reduced stress, and a touch of natural beauty. Once you’ve successfully repotted your hanging plant, you can enjoy these benefits for years to come.
This will help to prevent waterlogging and improve drainage.
- Common drainage materials include gravel, pebbles, or broken terracotta pots.
- A layer of about 1-2 inches of drainage material is typically sufficient.
Repotting the Hanging Plant

Now that you’ve prepared your new pot and the plant, it’s time to carefully move your hanging plant into its new home. This process requires a gentle touch to avoid damaging the roots and ensure a smooth transition for your plant.
Removing the Plant from the Old Pot, How to Repot Hanging Plants Without Making a Mess
Before attempting to remove the plant, gently tap the bottom of the old pot to loosen the soil and encourage the plant to release its grip. If the plant is still firmly rooted, you can use a tool like a garden trowel or a butter knife to carefully separate the plant from the pot’s edge.
- Gently tap the bottom of the pot:This will help to loosen the soil and encourage the plant to release its grip.
- Use a tool to separate the plant:If the plant is still firmly rooted, you can use a tool like a garden trowel or a butter knife to carefully separate the plant from the pot’s edge.
- Avoid pulling on the plant:Pulling on the plant can damage the roots and stress the plant. Instead, gently work the plant free from the pot by tapping and separating.
Once the plant is loose, gently lift it out of the pot, taking care not to damage the roots.
Transferring the Plant to the New Pot
After carefully removing the plant, it’s time to transfer it to its new pot. This step requires a delicate touch to minimize root disturbance and ensure the plant settles comfortably in its new home.
- Place a layer of drainage material:Start by placing a layer of drainage material, such as pebbles or gravel, at the bottom of the new pot to prevent waterlogging.
- Add a layer of potting mix:Fill the new pot with a layer of potting mix, leaving enough space for the plant’s root ball.
- Position the plant in the center:Gently place the plant in the center of the new pot, ensuring the root ball is level with the rim of the pot.
- Fill in with potting mix:Fill in the remaining space around the root ball with potting mix, pressing gently to ensure the plant is secure.
- Water thoroughly:After repotting, water the plant thoroughly to settle the soil and encourage root growth.
Gently Handling the Roots
During the repotting process, it’s crucial to handle the roots with care. Avoid pulling or tugging on the roots, as this can damage them and hinder the plant’s ability to absorb nutrients and water. If you notice any broken or damaged roots, trim them with a sharp knife to encourage new growth.
“Treat the roots with the same care you would give a delicate piece of fabric. Avoid any harsh movements that could cause damage.”
Concluding Remarks: How To Repot Hanging Plants Without Making A Mess

Repotting hanging plants doesn’t have to be a messy affair. By following these steps and using the right techniques, you can ensure a clean and successful repotting experience. Remember to choose the right pot size, use the appropriate potting mix, handle the plant gently, and provide proper aftercare.
With a little care and attention, you can keep your hanging plants thriving and your home mess-free.
Q&A
What if my hanging plant is too large for me to easily handle?
If your hanging plant is too large to handle comfortably, consider asking a friend for help or using a sturdy stool or ladder to reach the plant safely. You can also try using a smaller pot for the initial repotting and then transferring the plant to a larger pot once it has settled in.
What should I do if I accidentally break some roots during repotting?
Don’t worry too much if you break a few roots during repotting. Plants are surprisingly resilient and can usually recover quickly. Just be sure to handle the roots gently and minimize any further damage.
